Capturing your model railroad layout in photos that do it justice takes more than pointing a smartphone at the track. With the right approach, your photos can look like scenes pulled straight from a prototype railroad — dramatic, immersive, and publication-worthy. Here’s how to get there.
Choose the Right Camera Angle
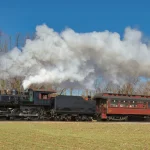
The single most impactful change you can make is getting low. Shoot at track level or just slightly above it. This “engineer’s eye view” creates the illusion of a full-scale scene and makes even modest layouts look expansive. Mount your camera on a small tripod or use a flexible gorilla-pod to hold the angle steady.
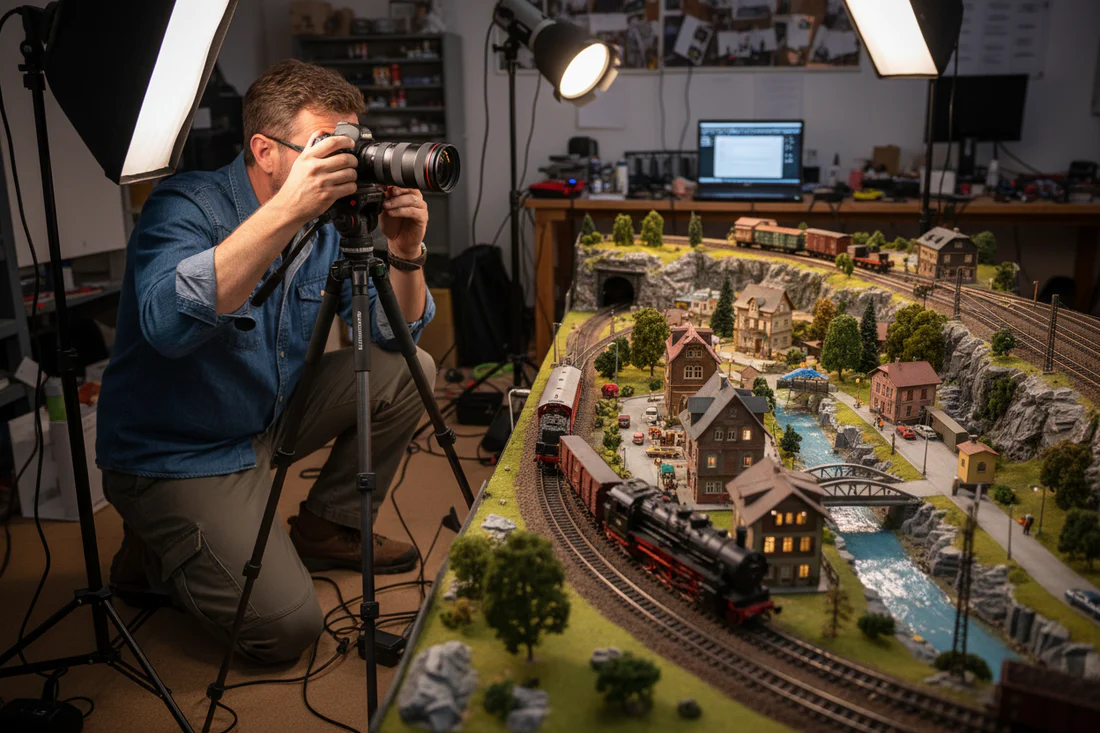
Control Your Lighting
Avoid overhead fluorescent shop lights as your primary source — they flatten the scene and wash out detail. Instead:
- Use warm LED strips positioned at a low angle to simulate sunlight
- Add a secondary fill light on the opposite side to reduce harsh shadows
- For night scenes, use small point-source LEDs to simulate street lamps and building interiors
- Diffuse any direct light source with white foam board or a photography softbox
Natural window light can work beautifully if you can control it with blackout curtains and reflectors.
Use a Narrow Depth of Field
Blurring the background (bokeh) is one of the most effective tricks for making a model scene read as real. If you’re shooting with a DSLR or mirrorless camera, use a wide aperture (f/1.8–f/2.8). Even modern smartphones have portrait mode or manual aperture controls that can achieve a similar effect.
Focus sharply on your subject — a locomotive, a figure, a building — and let the background fall off naturally.
Set the Scene Before You Shoot
Treat each photo like a film still. Before pressing the shutter:
- Remove any out-of-place items (tools, price tags, loose wires)
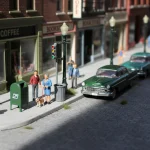
- Add figures, vehicles, and details that tell a story
- Check for fingerprints on locomotives and rolling stock
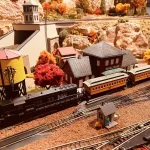
- Position trains mid-scene rather than parked at a siding
Small details make a huge difference in the final image.
Shoot in RAW and Edit Thoughtfully
If your camera supports RAW format, use it. RAW files give you far more latitude to adjust exposure, white balance, and color in post-processing. In Lightroom or even free tools like Darktable:
- Boost contrast slightly to add depth
- Warm the white balance for a golden-hour feel
- Add a subtle vignette to draw the eye toward the subject
- Sharpen selectively — locomotives and track details reward it
Avoid over-processing. The goal is realism, not a stylized look.
Batch Your Shots
Once your lighting is dialed in, shoot multiple angles and scenes in the same session. This is efficient and ensures consistent lighting across your product or editorial photos — useful if you’re publishing to a blog, newsletter, or social media.
Final Tip: Tell a Story
The best layout photos aren’t just documentation — they’re narratives. A freight train rounding a curve through autumn trees, a switcher spotting cars at an industry, a passenger consist pulling into a station at dusk. Think about what’s happening in the scene, and compose your shot to capture that moment.